There are several reasons you may decide to remove or replace an old oil tank. You could be preparing your home for sale, switching it to a different heating method, or simply upgrading to a newer tank. Regardless of the reason, residential oil tank replacement can benefit both the environment and your wallet. More modern tanks are more efficient and can save you money on heating your home every fall and winter. Additionally, old tanks can become corroded from the inside out over time, and replacing them can help save you from dealing with costly and dangerous leakage.
Once you decide to remove your old oil tank, you must take the right steps to ensure the process is carried out safely. If not handled properly, the contents of oil tanks can contaminate soil and be very hazardous to your family’s health. Additionally, cleaning up spilled oil can be expensive and time-consuming. By following these steps, you can ensure your oil tank replacement is a success.
Pump Out Old Fuel
The first step is to remove the gauge and pump all the oil out of the tank. New oil tank services use hoses and explosion-proof transfer pumps to move the oil from the tank to a storage drum. If the oil isn’t too contaminated, it may be cleaned through a filter and used to heat your home again.
Deal With the Sludge
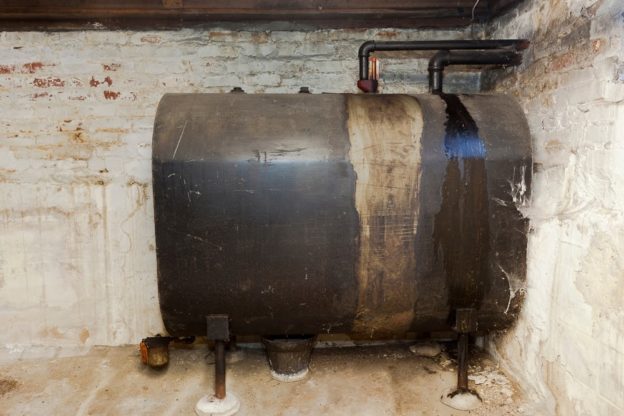
The next step for safe removal is to remove the sludge from the bottom that’s too thick to be pumped out. Water vapor forms inside oil tanks and sludge is created when this moisture and the rust particles it creates accumulate on the sides and bottom of the tank. Sludge is inevitable for residential oil tanks, and it must be safely handled when the tank is being removed. To do so, oil tank experts cut a large hole in the side of the tank, scrape sediment off the wall of the tank, and place it in large buckets for safe storage.
Sludge is odiferous and unsightly, but it can be recycled at specialized facilities and used for industrial purposes. This is a considerably greener and safer alternative to disposing in a landfill or leaving it on your property.
Cut the Vent and Fill Pipes
If you are removing an oil tank, the pipes have to be removed from the home’s foundation and filled in (unless you plan on putting a new tank in the same place). Leaving the pipes in place when the tank is no longer there can result in a severe spill if oil is delivered by mistake.
Carry the Tank Out
Once the other steps have been completed, it’s finally time to get that tank out of your yard or basement. If they pass inspection, many tanks can be taken to a steel mill and melted down for scrap metal.
Replacing your oil tank can improve your life in several significant ways, which is why it’s critical to have the right team of specialists on your side. To learn more about underground oil tank removal and replacement, contact Professional Tank & Environmental today!